Installing a propane tank is a very manageable project when you know the steps — but it also involves safety codes and a professional gas connection that should never be rushed. This guide walks you through how to install a propane tank from start to finish, for both above ground and underground tanks, so you know exactly what to expect and where the professionals come in.
Step 1: Confirm Local Codes and Permits
Before anything else, check your local permitting and setback requirements. Rules vary significantly by municipality, especially for larger tanks. Most areas require minimum clearances from buildings, property lines, windows, and ignition sources. Skipping this step can mean fines or having to relocate the tank later. Always confirm with your local authority first — they have the final say, and the requirements exist for good safety reasons.
Step 2: Choose the Right Location
A good location balances safety, code compliance, and convenience:
- Level, stable ground that can support the filled weight of the tank.
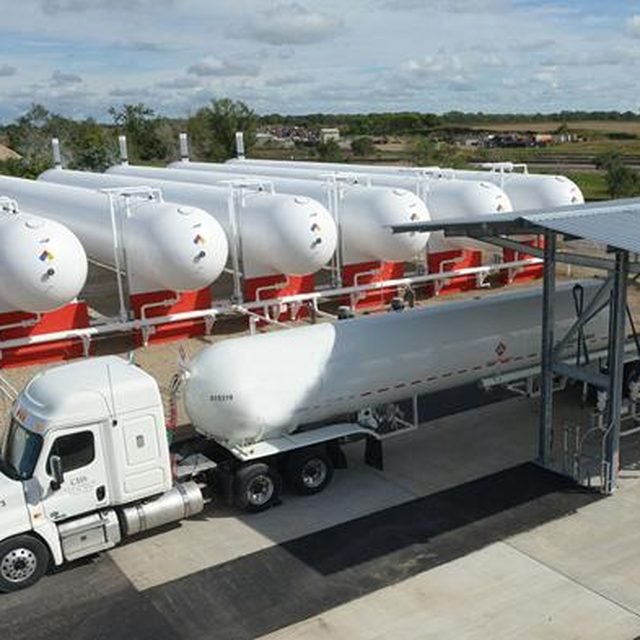
- Accessible to a bobtail delivery truck for refills.
- Clear of overhead power lines and the required distance from windows, doors, AC units, and ignition sources (often 10 feet for larger tanks).
- Not in a low spot where water pools.
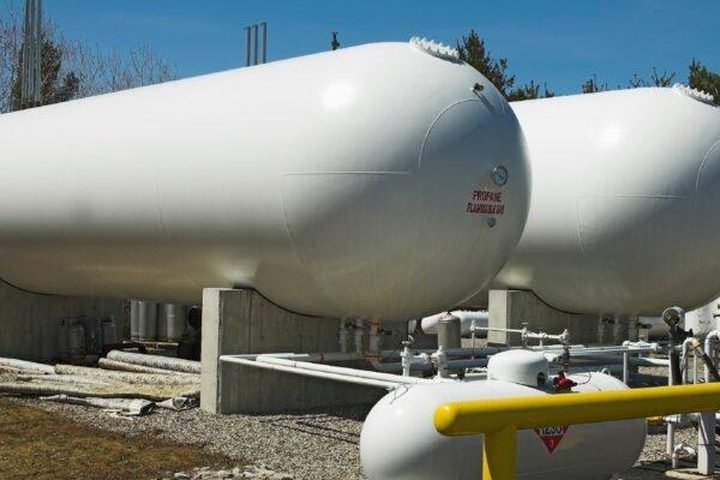
Step 3: Prepare the Pad (Above Ground)
Above ground tanks sit on a stable, level base — typically a poured concrete pad or compacted gravel rated for the load. A proper foundation prevents the tank from shifting or settling and keeps it level, which matters for accurate gauge readings. The pad should be sized appropriately for your tank.
Step 4: Excavate and Protect (Underground)
Underground installation is more involved. It requires excavation to the correct depth, a clean sand or pea-gravel bed, a sacrificial anode bag for corrosion protection, and an intact protective coating on the tank. Backfilling must be done carefully to avoid damaging that coating. Because of the equipment and precision involved, underground installs are almost always handled by professionals.
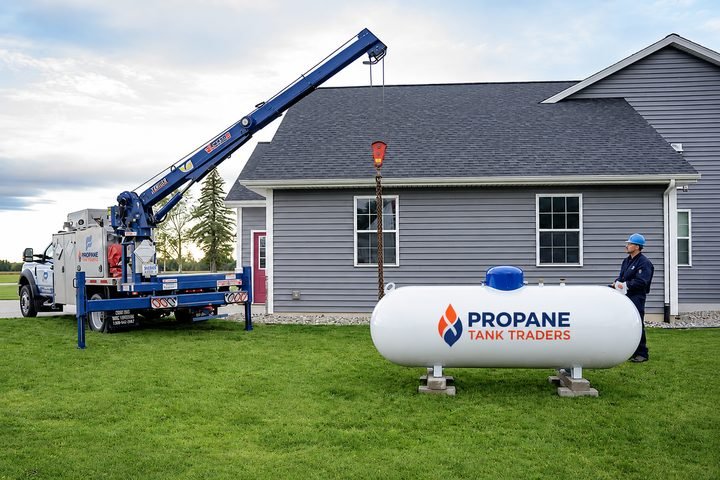
Step 5: Set and Level the Tank
The tank is positioned with the proper equipment — a crane or boom truck for larger tanks — then leveled and secured. Correct leveling is not just cosmetic; it affects both safe operation and the accuracy of your fuel-level gauge.
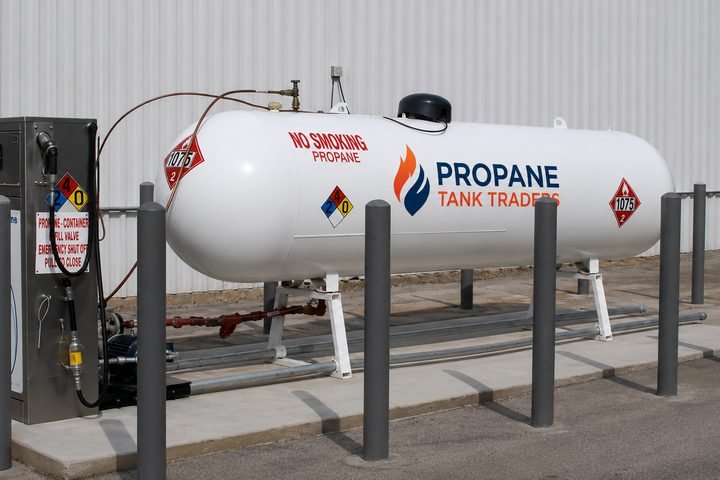
Step 6: Connect the Gas Line
A licensed technician connects the regulator and runs the gas line to your home’s piping. This step should never be a DIY project. Proper fittings, correct regulator pressure, thread sealant rated for gas, and thorough leak testing are essential. An improper connection is the single most dangerous mistake in the whole process.
Step 7: First Fill, Purge, and Leak Test
Your local propane supplier performs the first fill. For a new or previously empty tank, they purge air and moisture from the system, then run a pressure and leak test before the tank is placed into service. Only after this safety check is the system ready to use.
Above Ground vs. Underground Installation
Above ground is faster, cheaper, and easier to service; underground is cleaner-looking but pricier and more complex. We compare them in full in our above ground vs. underground guide so you can pick the right approach before you dig.
Common Installation Mistakes
- Skipping the permit and clearance check.
- Placing the tank where the delivery truck cannot reach it.
- Attempting the gas connection without a licensed pro.
- Using a tank not rated for underground burial.
Get Help With Your Installation
Every tank we ship is inspected and ready to install, and we are happy to advise on placement, clearances, and site prep before you order. Browse tanks ready for delivery or contact our team for guidance tailored to your property.